In this guide, we will provide a detailed guide to deploy FastNetMon in Google Compute Engine.
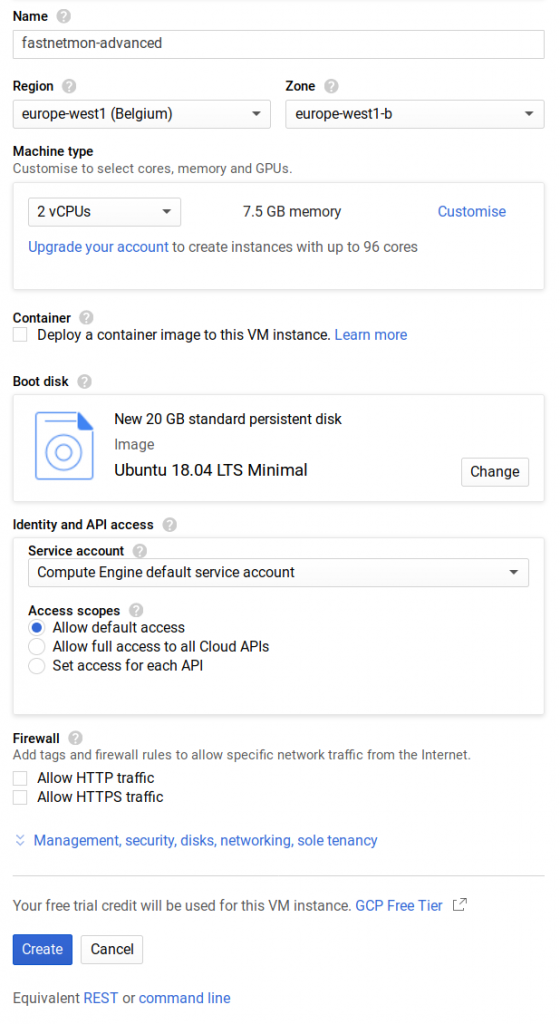
To start with, please create an instance with at least two CPU cores and 4-7GB of memory with at least 20 GB of disk space.
After creating an instance, please open the network configuration for it to add a static external IP address, as the FastNetMon license server relies on it.
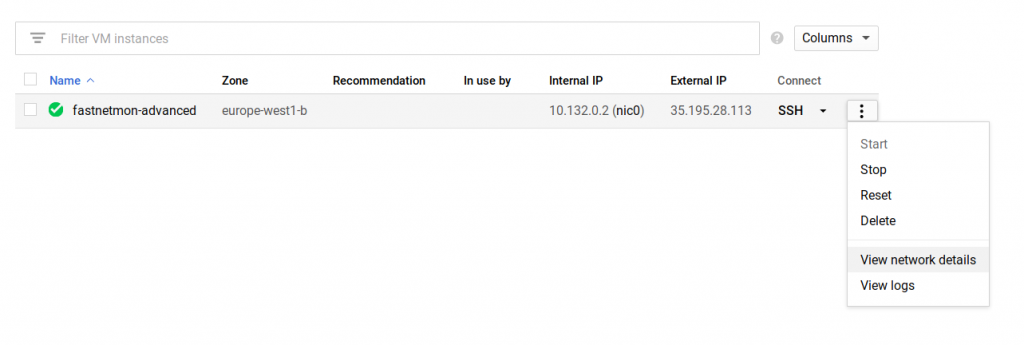
After opening the network configuration, select network details, and you will see the following panel:
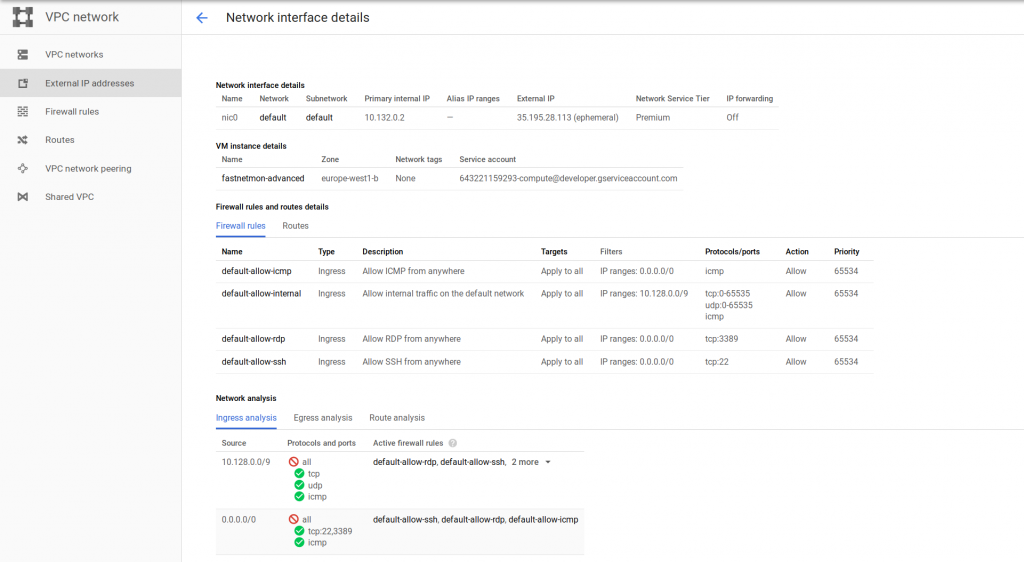
Finally, select the external IP address on the left side
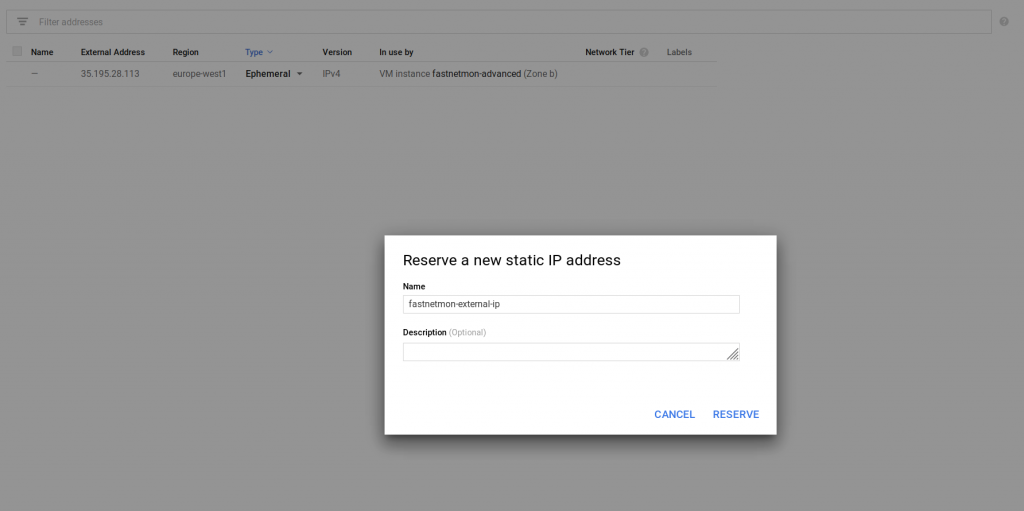
After assigning IP to this machine, log in into SSH using your favourite SSH client and start the installation process:
wget https://install.fastnetmon.com/installer -Oinstaller
sudo chmod +x installer
sudo ./installer -activation_coupon your_coupon_from_email
After finishing the installation process, please check the license status, and then you can continue to quick start guide.