We often hear the same feedback from FastNetMon users:

It’s simple, it just works, and it does exactly what it’s supposed to do: detect DDoS attacks and launch mitigation actions.
That’s not by coincidence. It reflects a core philosophy we’ve followed from day one: build simple, functional tools for network operators that hold up in real-world conditions — day to day, year to year.
But this perception of simplicity can sometimes hide an important detail.
FastNetMon is simple to use, but it is anything but simple under the hood. Behind that simplicity is a set of over 300 configuration options, built to make FastNetMon adapt to the specific needs of your network. In this article, we’ll walk you through the journey of installing and configuring FastNetMon Advanced, and highlight some of its rich configuration options. In the end, you’ll have a clearer picture of what the product is capable of and how you can configure it best for your network.
Fast to deploy, easy to start
Getting FastNetMon up and running is very straightforward, and most operators can go from zero to a working setup in a few minutes. Before starting the installation, you’ll need to request a trial license.
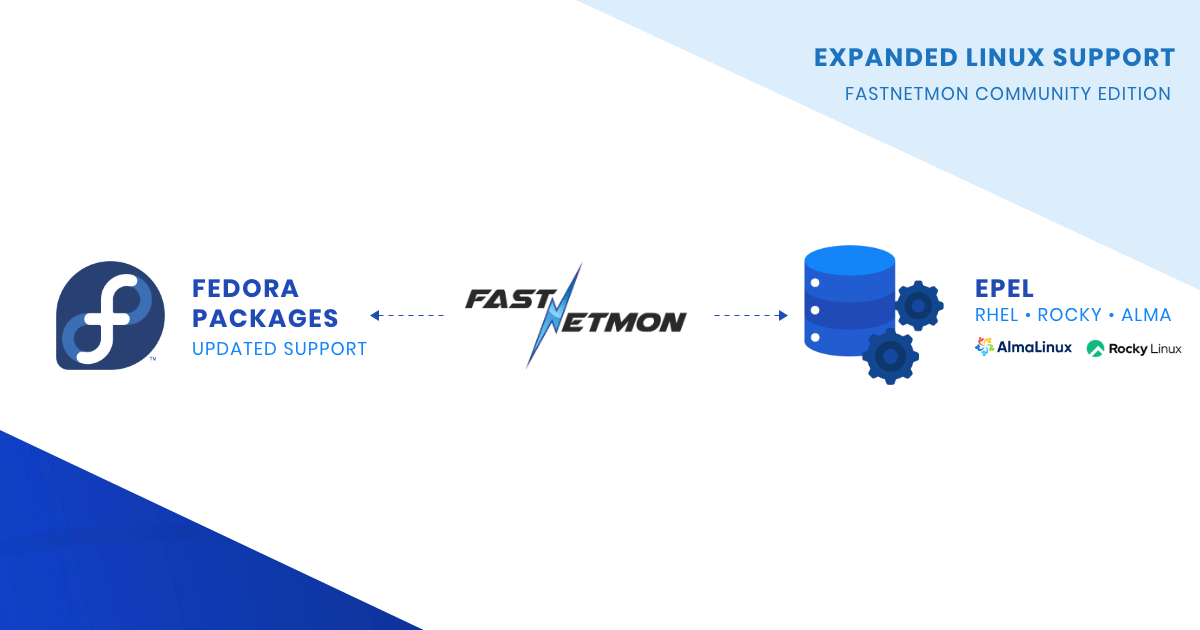
The process then comes down to preparing a supported environment – typically a standard Linux server (Ubuntu, Debian, or RHEL-based) with enough CPU and memory to handle your traffic. FastNetMon runs on both physical servers and virtual machines, including common cloud platforms.
Installation is done by downloading and running a single script. It installs all required components and automatically retrieves and assigns a license to your server based on its hardware and IP address.
You can read the full install guide here. After this, you can move to the initial configuration.
Setting up traffic capture
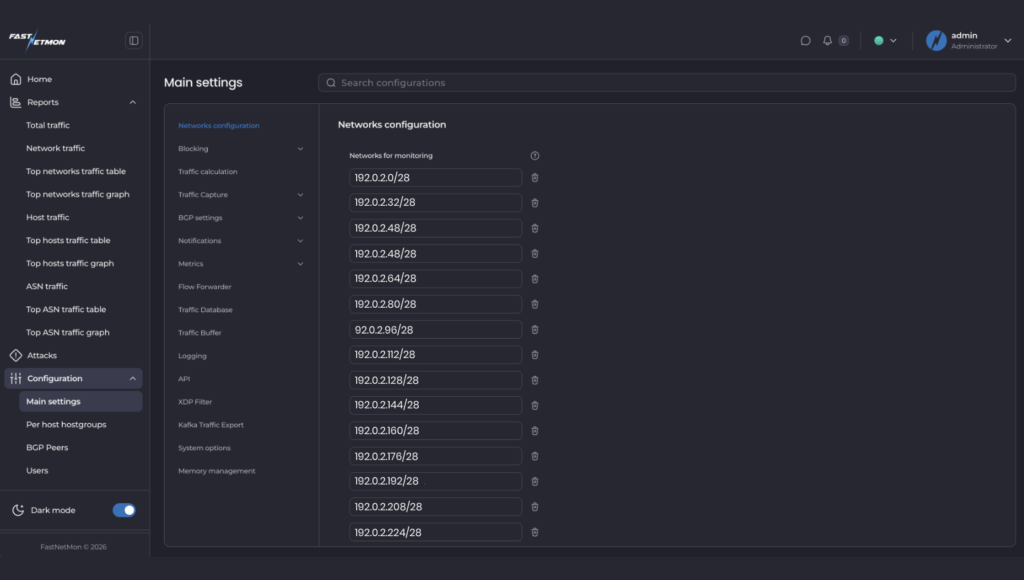
After installation, the next step is to enable traffic capture so FastNetMon can start receiving and processing your network traffic.
You begin by defining your network prefixes in CIDR format. This is required so FastNetMon understands which traffic belongs to your infrastructure and can correctly determine traffic direction. Without this, traffic classification will not work properly.
Next, you select and enable your traffic source depending on your environment. FastNetMon supports several options, including NetFlow, sFlow, port mirroring, vendor-specific mirror modes, and cloud flow logs. The right choice depends on your network equipment and how you export traffic data - you can refer to this table to find the best option.
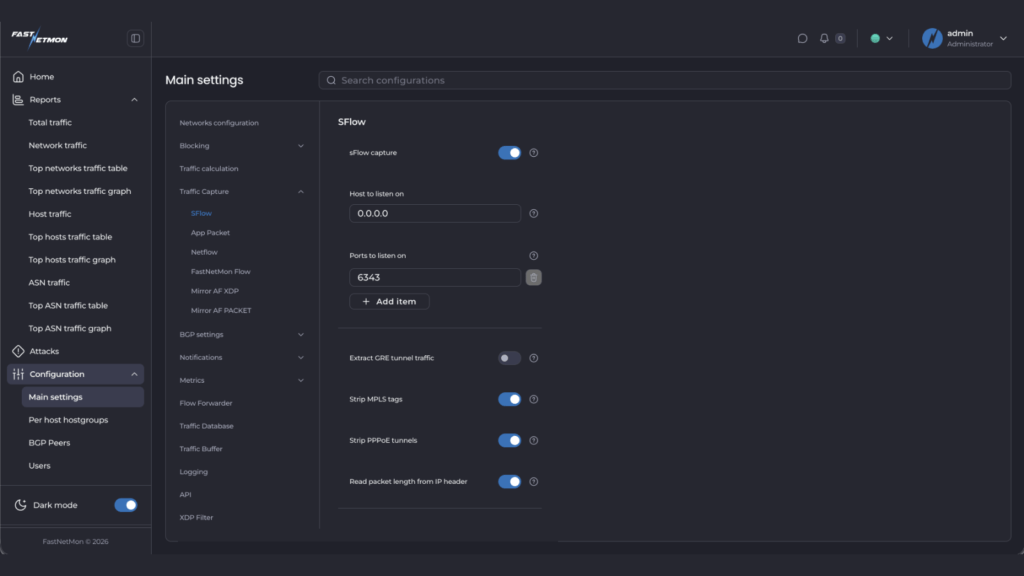
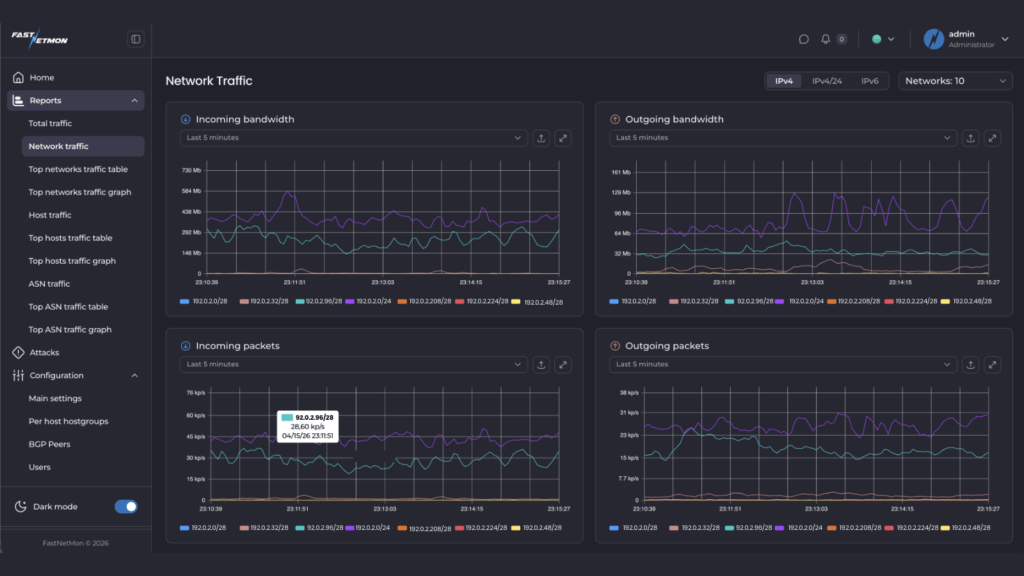
Once configured, you can quickly verify that traffic is being received on the dashboards, checking built-in traffic counters, or using the CLI tools. If everything is set up correctly, you will see live inbound and outbound traffic being tracked. You can read the full quick guide for enabling the traffic capture here.
Configuring detection thresholds
Once FastNetMon is receiving traffic, the next step is defining what “normal” looks like — and what should be treated as an attack.
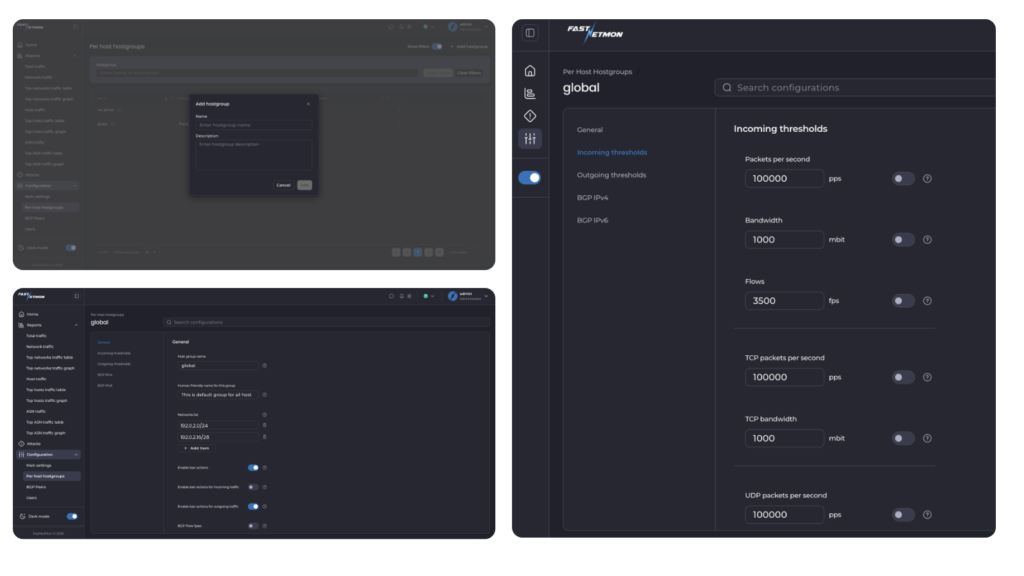
FastNetMon provides a wide range of threshold options for this purpose. At its core, the system tracks multiple traffic counters for every host and network, including packets per second, bandwidth (Mbps), and flows. On top of that, traffic is also broken down by protocol, such as TCP, UDP, ICMP, and specific patterns like TCP SYN traffic.
Thresholds can be applied at different levels, including individual hosts (per host thresholds) and groups of networks (hostgroup thresholds). This allows detection logic to be applied either very precisely to a single IP or consistently across larger parts of a network. In addition, thresholds can be configured independently for incoming and outgoing traffic.
This flexibility is what allows FastNetMon to adapt to very different network environments – from simple setups to highly specialised deployments. In practice, you can build all kinds of thresholds using most fields available at the L3 and L4 OSI layers, which means the level of granularity is effectively defined by your own requirements and use case.
Automatic baseline calculation
To make this easier, FastNetMon includes built-in tools to calculate thresholds automatically based on your real traffic.
Instead of guessing values, you can let FastNetMon observe your network over time and calculate peak traffic levels across different metrics. These baselines can then be used to define thresholds, typically by applying a multiplier (for example, 2–3x peak traffic).
This gives you a practical starting point that reflects your actual network behaviour, not assumptions.
Configuring mitigation actions: what happens when a DDoS attack is detected?
Once FastNetMon detects an attack, the next step is deciding how to respond. Just like detection, mitigation is highly configurable and can be adapted to your network and operational model.
Some of the common approaches are:
- BGP Blackhole
The simplest and fastest option. FastNetMon announces a route that effectively drops all traffic to the attacked host, removing the load from your network. This is reliable and widely used when immediate protection is needed. Read how to configure here. - BGP Flow Spec
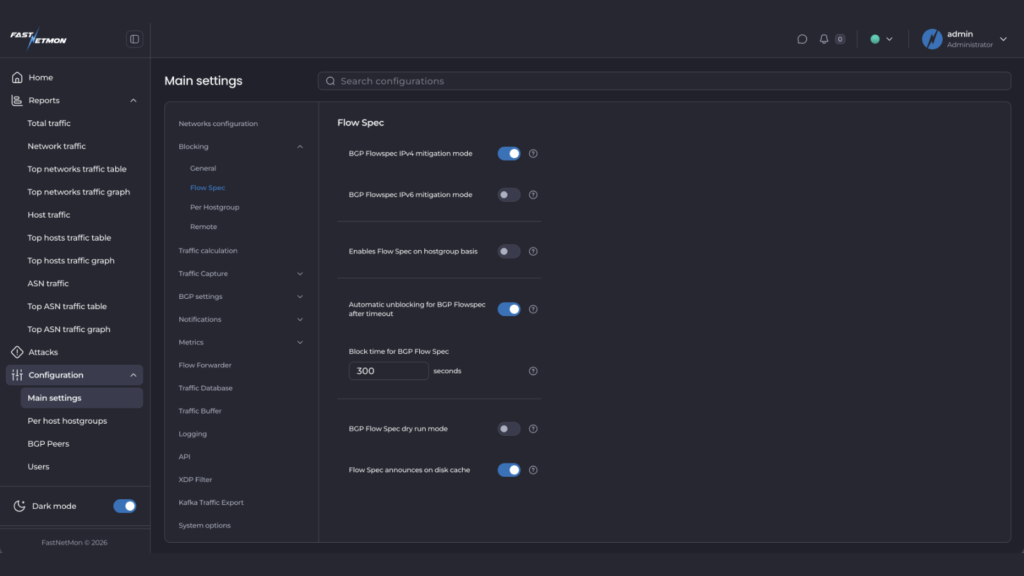
A more granular approach. Instead of blocking all traffic, FastNetMon identifies patterns in the attack and installs filtering rules on your routers to drop only malicious traffic, allowing legitimate traffic to continue. Read how to configure here. - Scrubbing centre diversion
Traffic can be redirected to an external DDoS scrubbing provider, either via BGP or API integrations. This allows large-scale attacks to be cleaned upstream before reaching your network. Read more here.
Each approach has its place, and many operators use a combination depending on the type and scale of the attack.
Built for real networks
FastNetMon is designed to work reliably in production, under real network conditions. That requires two things: a detection engine that is easy to deploy and trust, and the flexibility to adapt when networks behave differently.
Over the years, we’ve worked with ISPs handling backbone traffic, hosting providers protecting customer infrastructure, IXPs operating at extreme scale, and enterprises with highly specific traffic patterns. Each of these environments introduces real-world edge cases, and the configuration options in FastNetMon come directly from those requirements.
That is why the system includes 300+ configuration options — not as theoretical features, but as direct responses to operational needs observed in production environments.
We continue to develop FastNetMon in the same way, guided by feedback from operators.
If you’re new to FastNetMon, start a trial and see how it works in your own network.
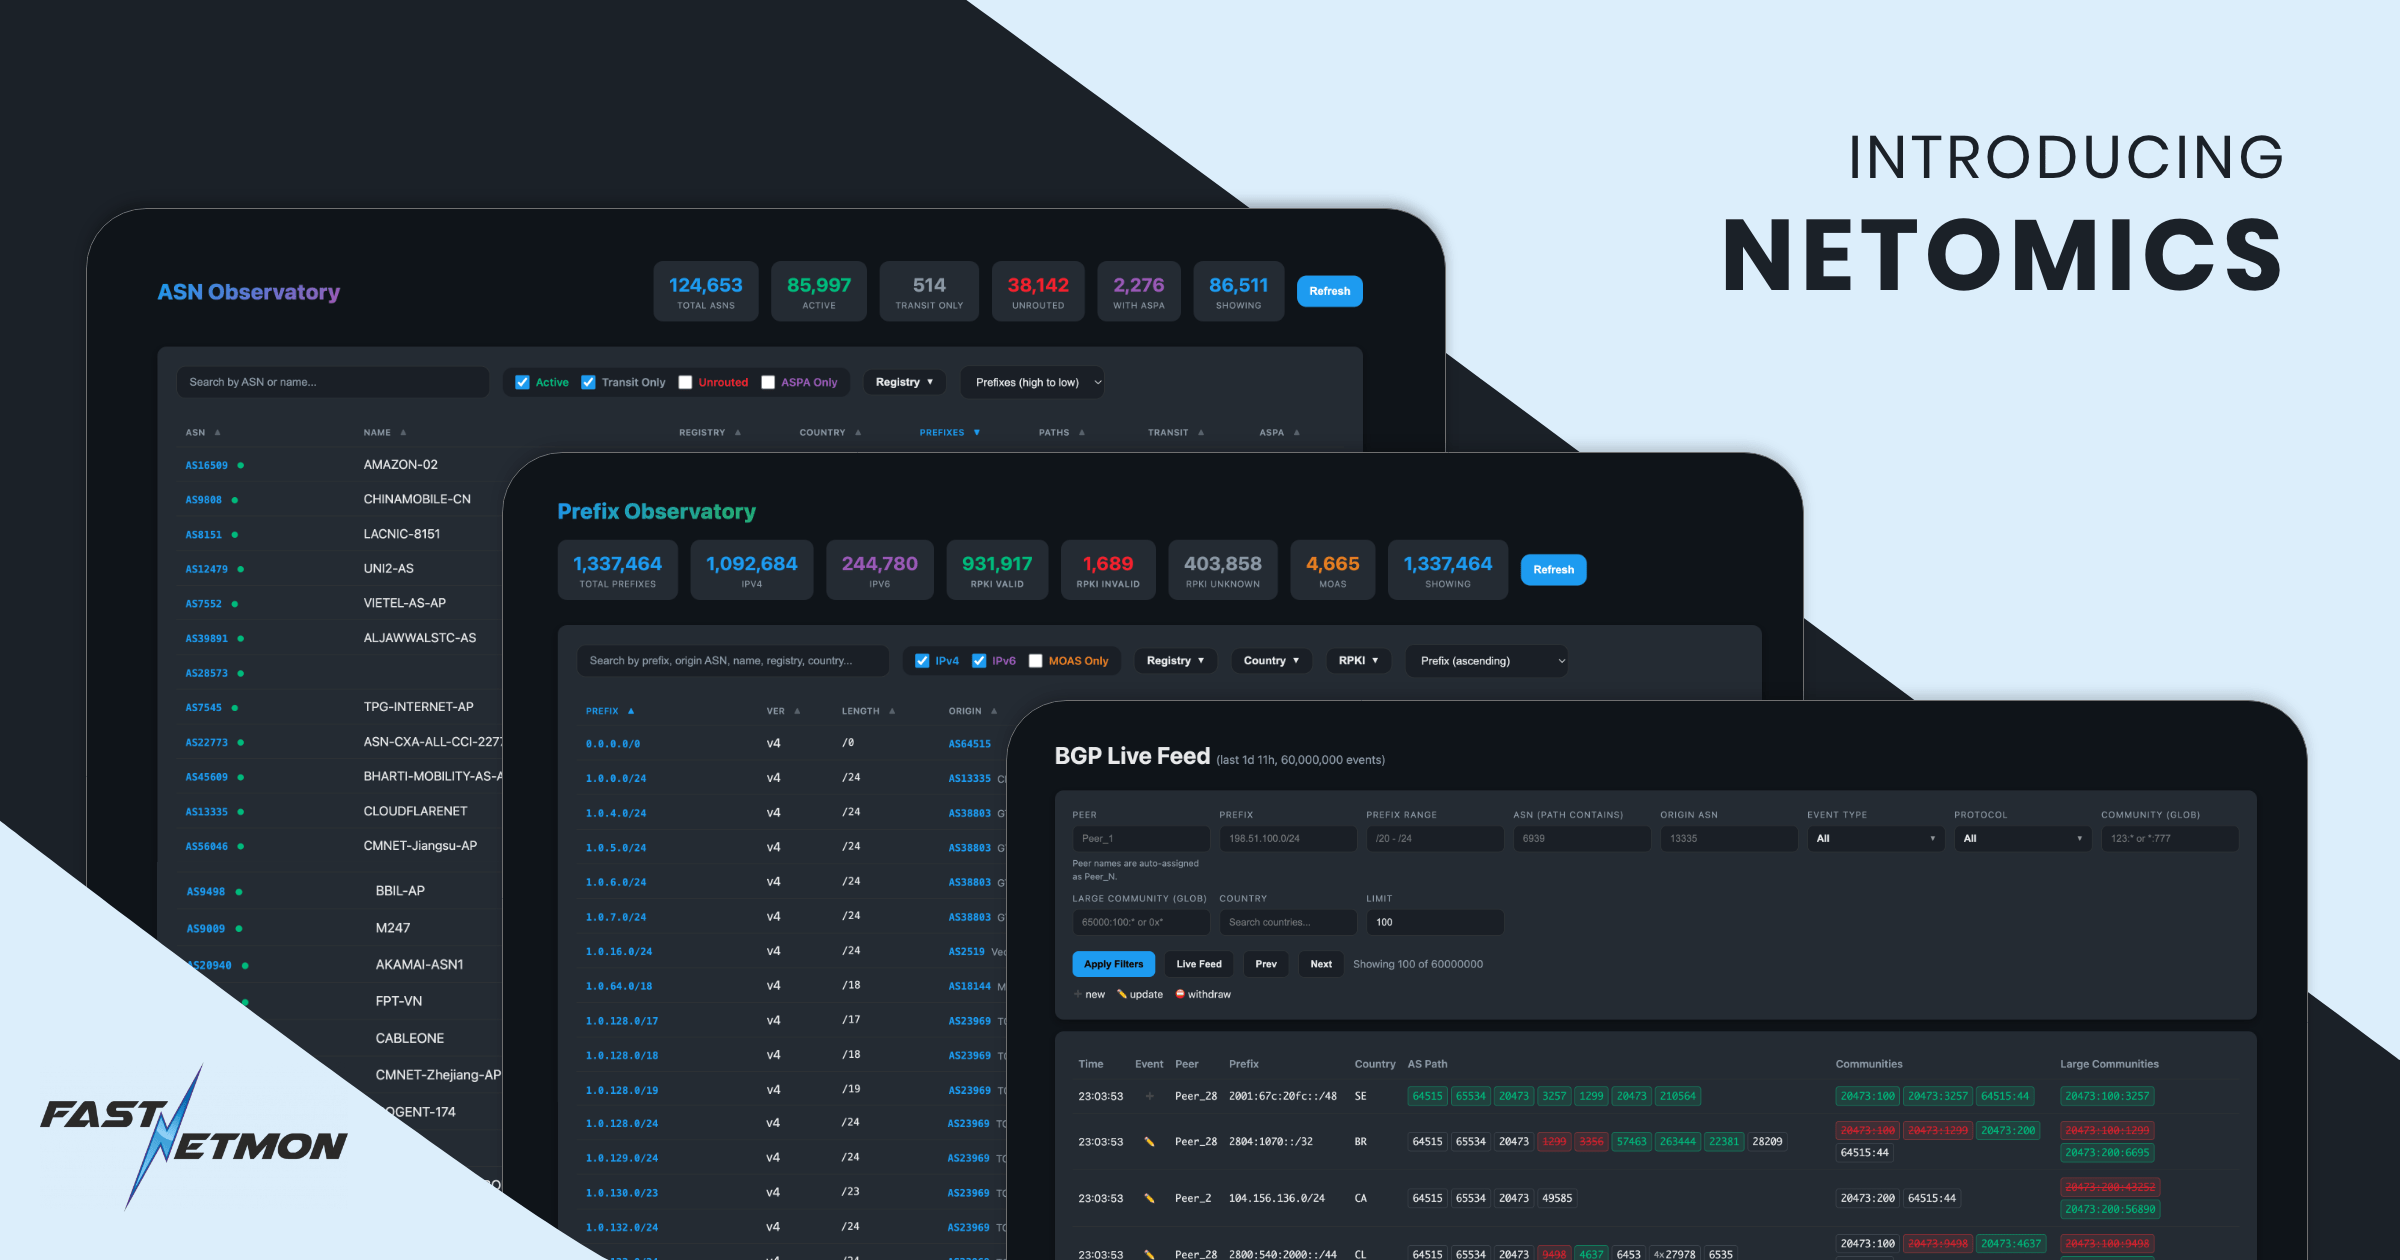
What’s next?
We are about to launch a new web dashboard that will make it easier to manage the entire configuration from a single interface, alongside powerful traffic visualisations, as you can see in this article. If you’d like early access, contact us at sales@fastnetmon.com.