This guide was tested with Windows 2022 Server Standard.
To start with, you'll need to download our VHD image for Hyper-V here. We do automated image builds on the next day from stable release. Feel free to change the file name of the image if you prefer to use the latest release.
As a first step, please download the image to a folder where you prefer to keep disk of created VM.
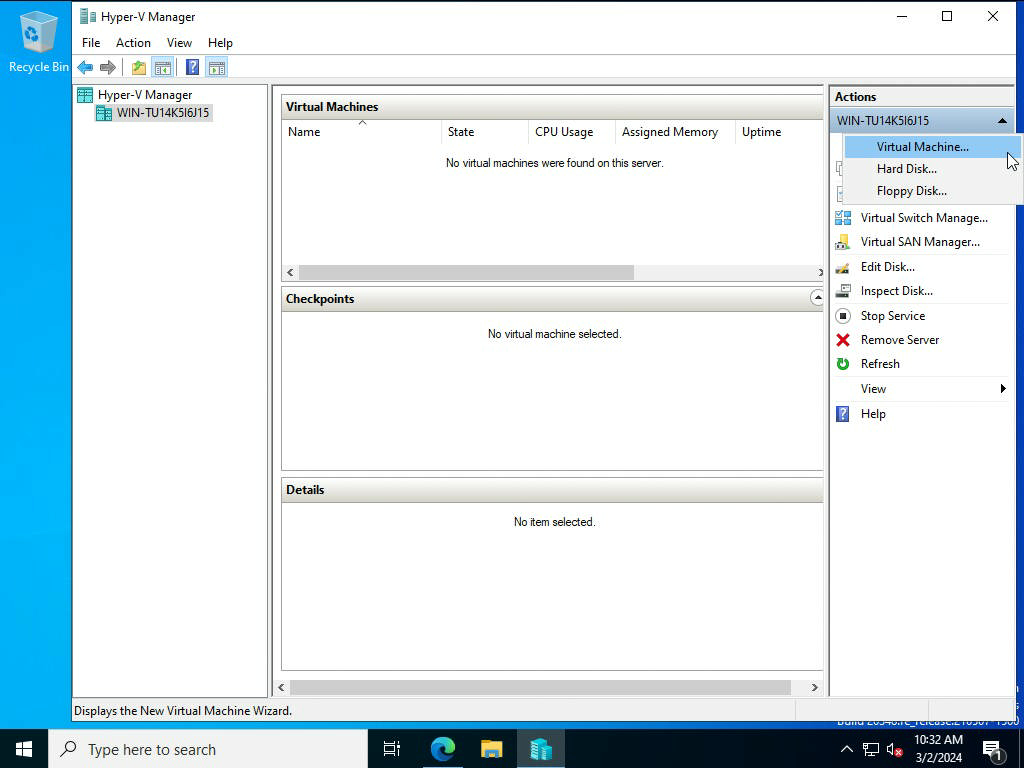
Then, on the right panel, select "New" and select "Virtual Machine".
Select generation 1 as only this one supports VHD format of disks:

Then allocate at least 8192 MB of memory.
Configure network connectivity to provide access to both the Internet and your internal network.
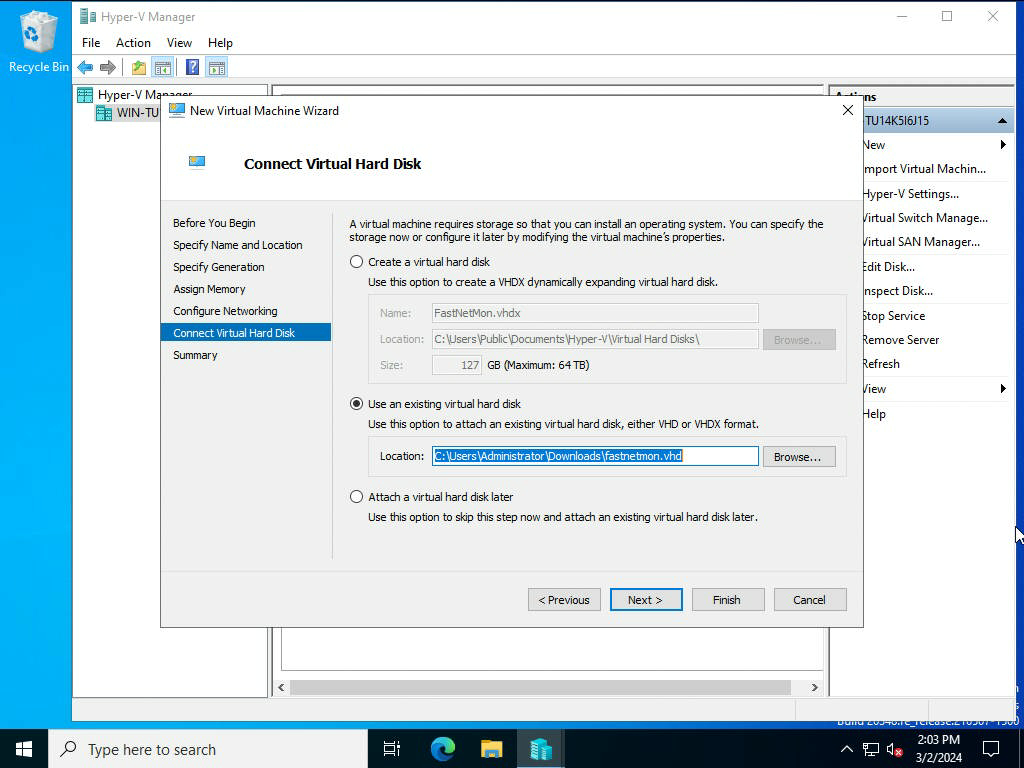
Then, select path to downloaded VHD:
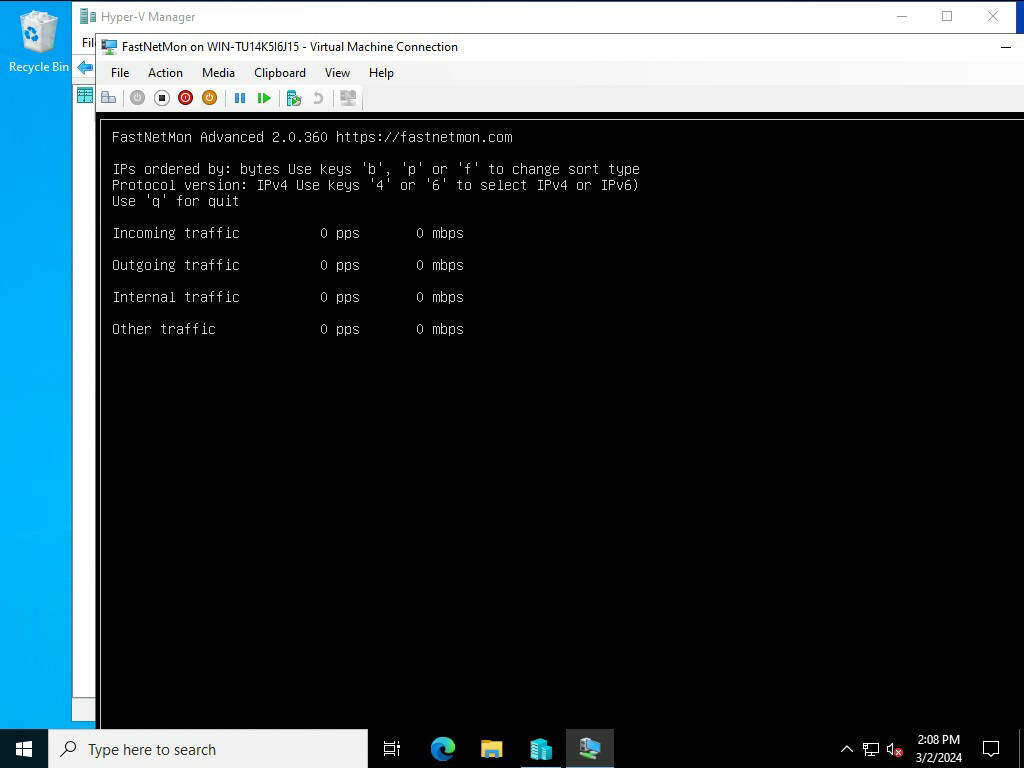
And finally launch VM by clicking "Start on right panel" and wait until VM finishes loading:
Default login and password for VM are: fastnetmon/fastnetmon. We have enabled SSH by default. Be very careful and change default passwords right after logging in.
After finishing installation, please request a trial license using our form. When you receive the activation coupon, please activate it this way:
sudo ./installer -activate_coupon -activation_coupon [coupon_code]
To confirm successful activation, please restart FastNetMon and check the license status:
sudo fcli commit sudo fcli show license
As the first step, reset the password for metrics access:
sudo ./installer -reset_clickhouse_password
To enable Grafana Web UI for metrics, you have to generate passwords for it:
sudo ./installer -reset_visual_passwords
It will print the login and password required for Grafana to access the metrics and traffic persistency database
Log in to FastNetMon’s UI: https://you.ip.address:81 using passwords from the previous step
Finally, you can start the initial configuration of FastNetMon using the standard guide.