We offer official QCOW2 images which can be used with a variety of KVM-based hypervisors. To start, please download the latest image. We do automated image builds on the next day from the stable release. Feel free to change the file name of the image if you prefer to use the latest release. This guide was prepared for Proxmox Virtual Environment 8.1.4
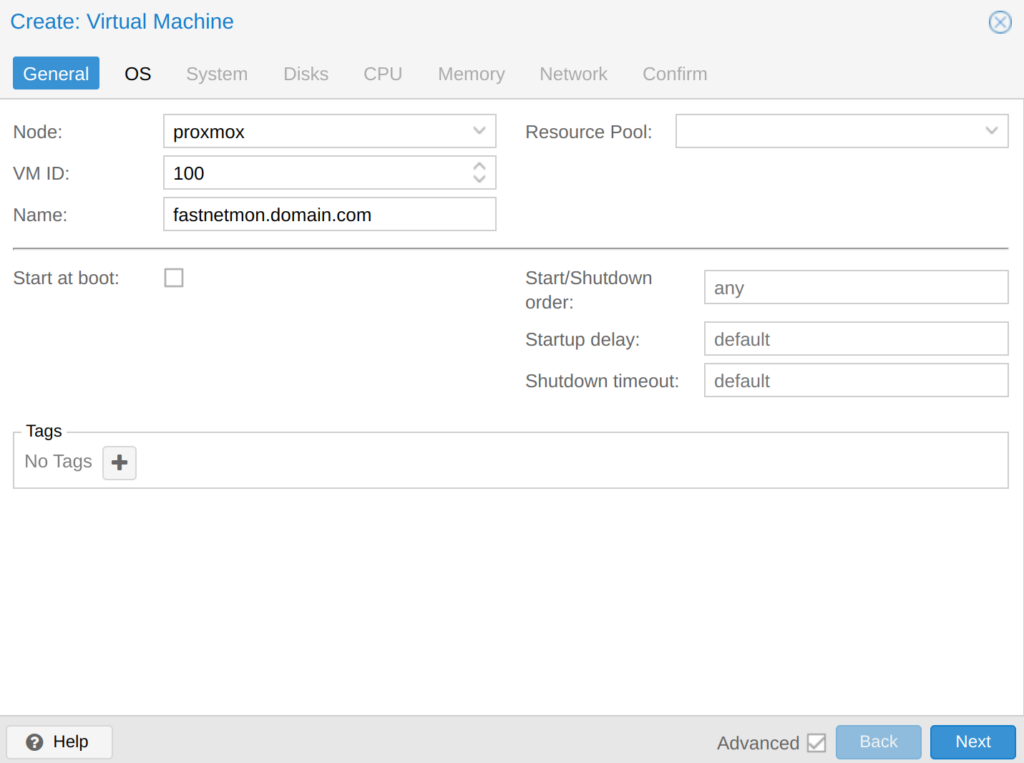
Start the process by creating a VM for FastNetMon:
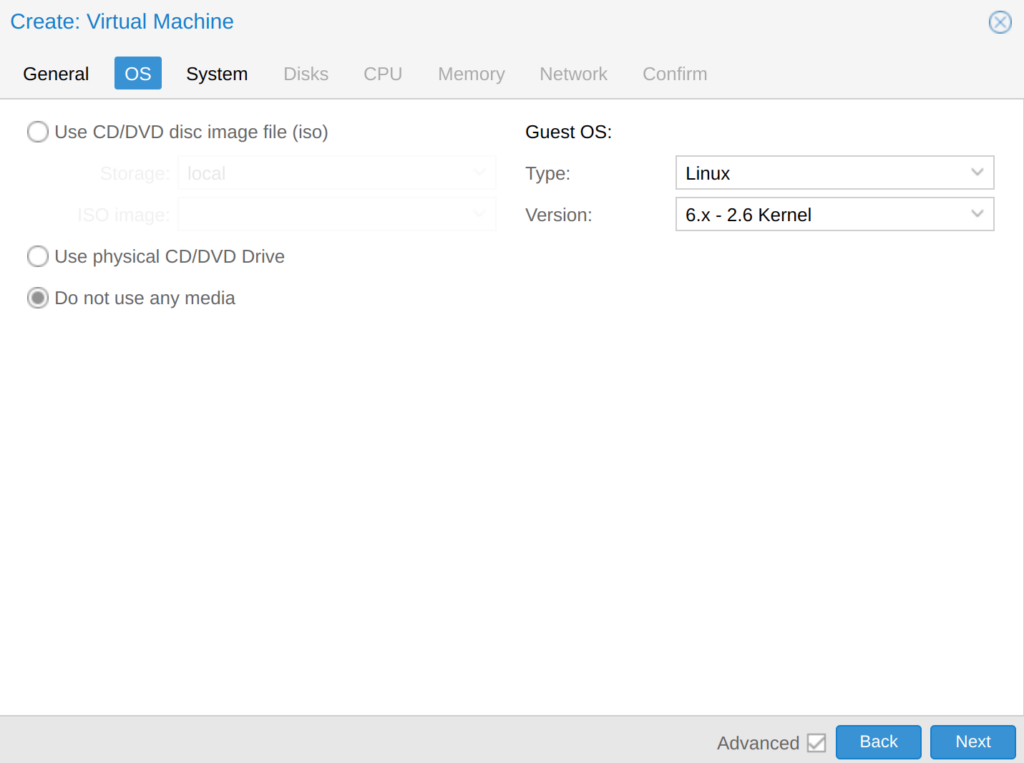
We do not need any installation media as we will use a pre-created VM disk image:
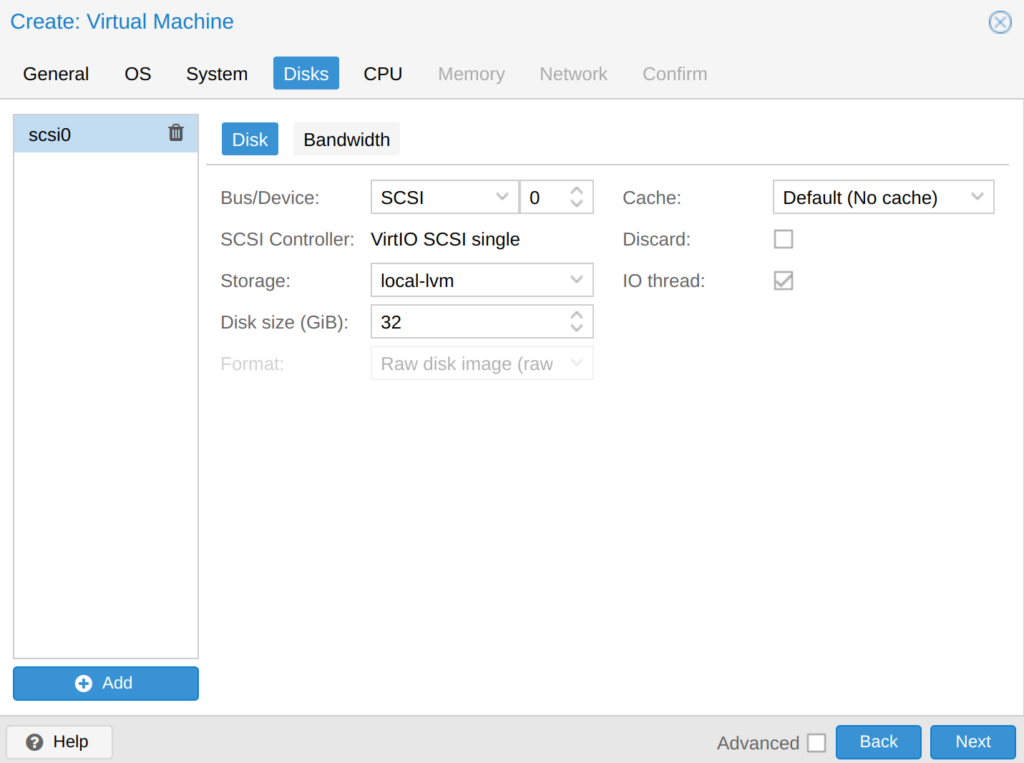
Specify empty disk space on local storage. We will not use it, and we will remove it later.
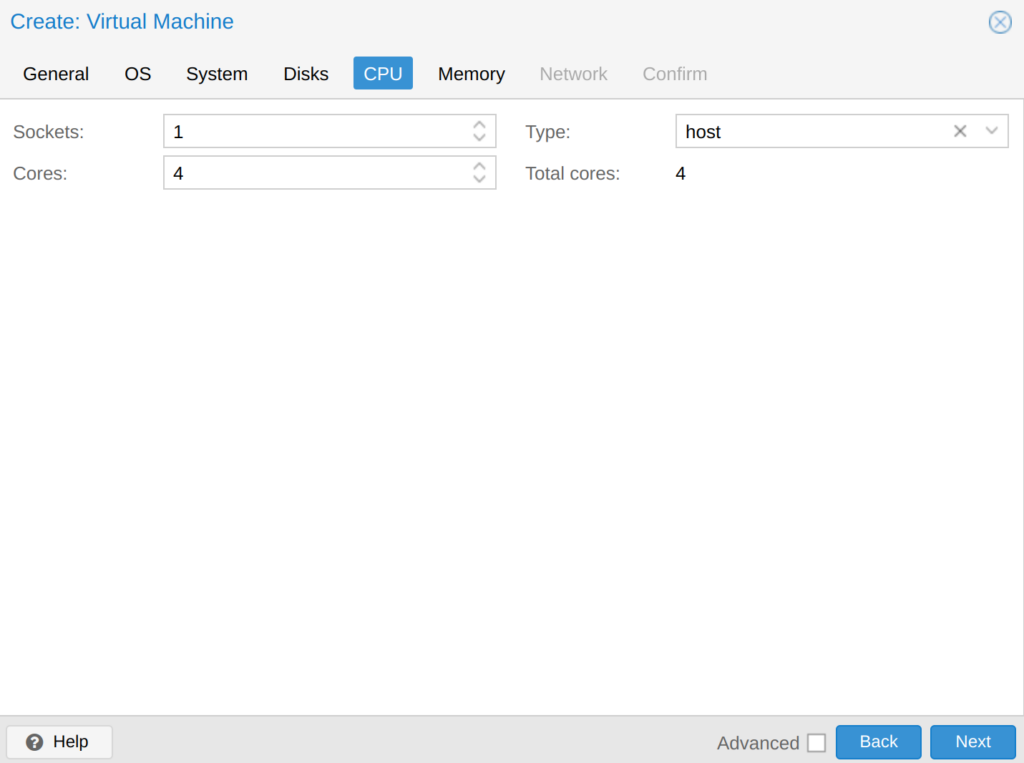
Then allocate at least 4 CPU cores for FastNetMon and switch "type" to use "host" CPU as it will allow to use all modern CPU features in VM:
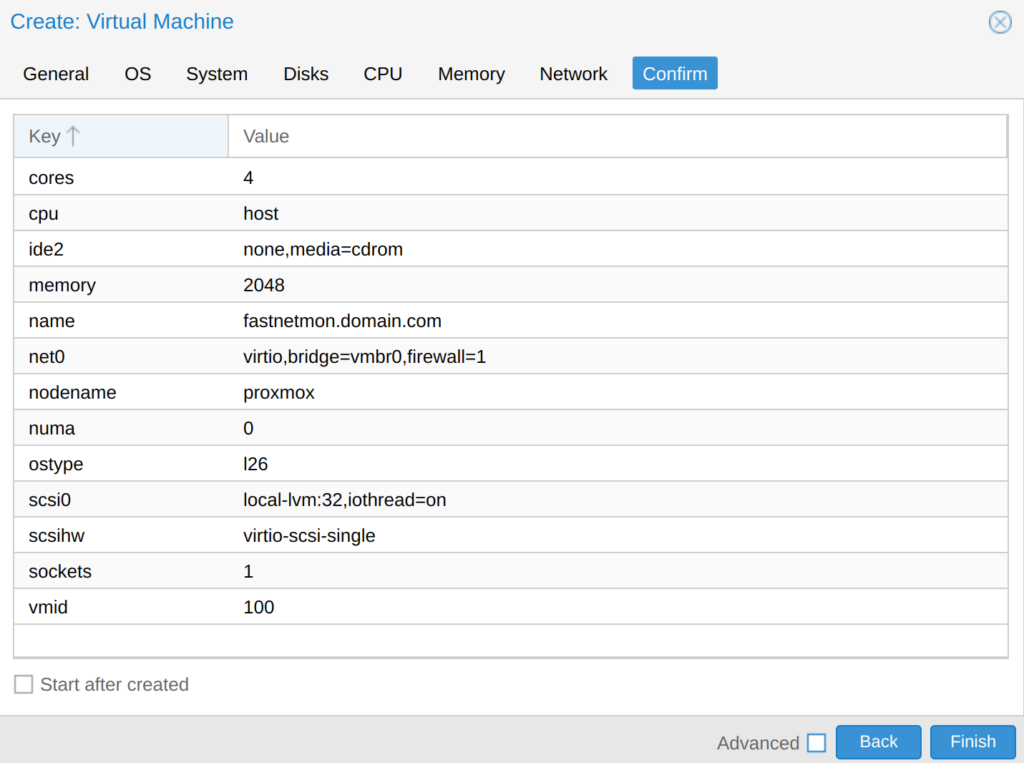
Review settings and click finish:
Then log in to the Proxmox server using the root account via SSH and download our official QCOW2 image (please ensure to replace 371 by the latest release version as instructed above):
mkdir /var/lib/vz/template/qcow
cd /var/lib/vz/template/qcow
wget https://storage.googleapis.com/fastnetmon_advanced_vm_images/fastnetmon-ubuntu-22.04-amd64-2.0.373.0.qcow2
And import it to the local LVM storage. Please replace with VM ID for your VM, which was set during creation. Please be patient as it will be a relatively lengthy process:
sudo qm importdisk <VM ID> fastnetmon-ubuntu-22.04-amd64-2.0.360.0.qcow2 local-lvm
Wait until it finishes to get the name of the disk (disk-1 in this case):
Wait until it finishes import:
transferred 145.9 GiB of 146.5 GiB (99.57%)
transferred 146.5 GiB of 146.5 GiB (100.00%)
transferred 146.5 GiB of 146.5 GiB (100.00%)
Successfully imported disk as 'unused0:local-lvm:vm-100-disk-1'
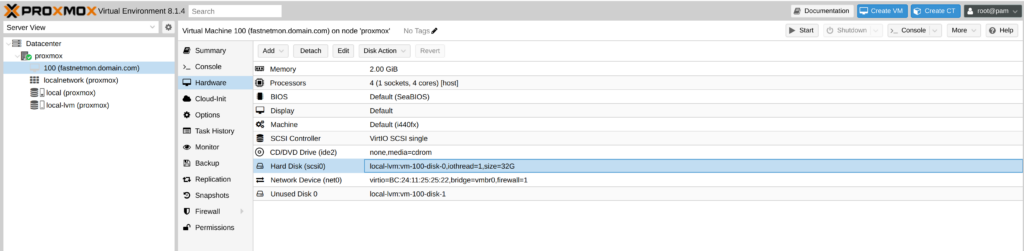
Then open disk configuration for new VM:
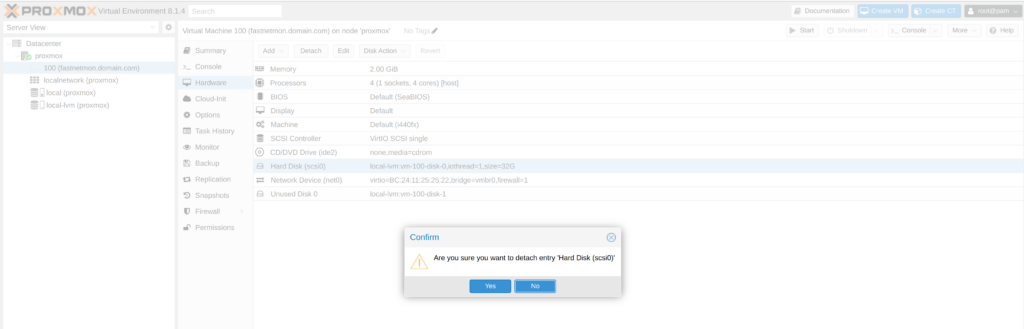
Select "Hard Disk (scsi0)" and click "Detach" on the top menu:
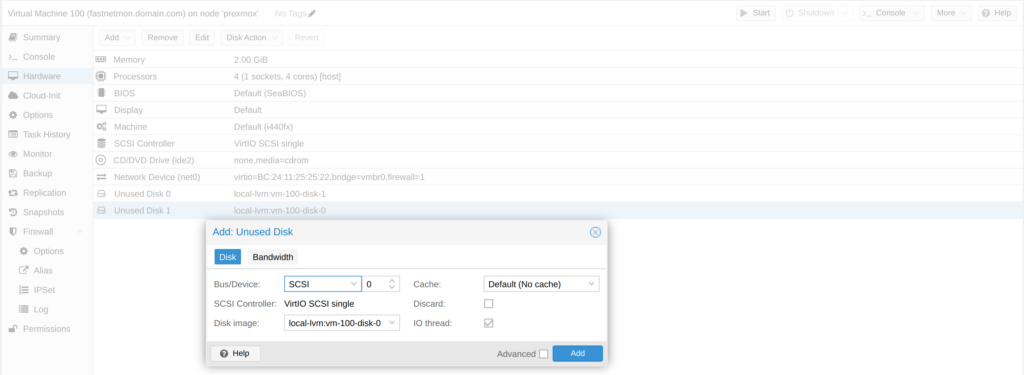
Then double click on "Unused disk-N" at the bottom of the table, which should match to disk image we imported to Proxmox previously and click "Add":
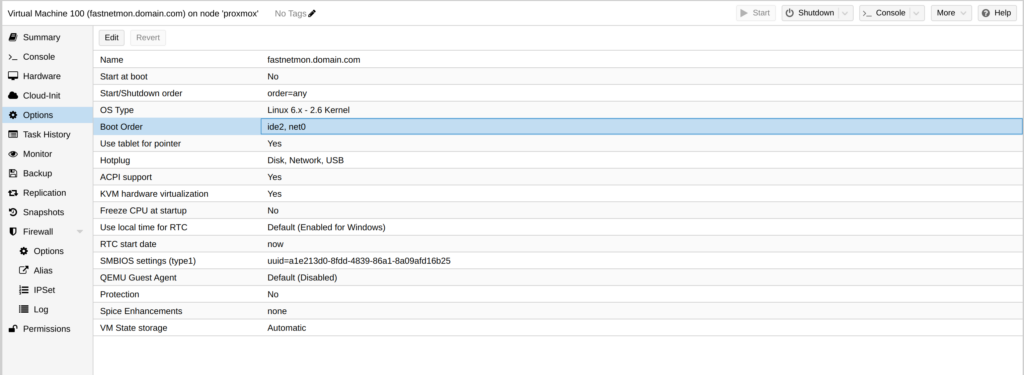
Then switch to the "Options tab" and click on "Boot order":
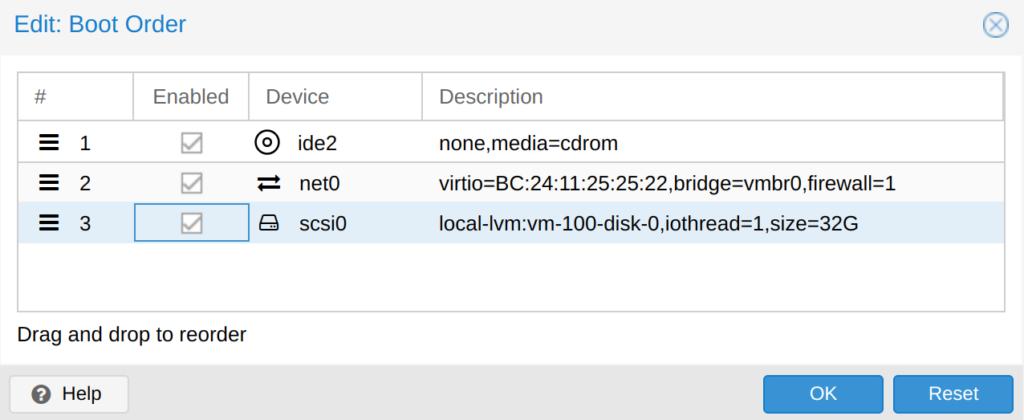
After that, enable our freshly created disk:
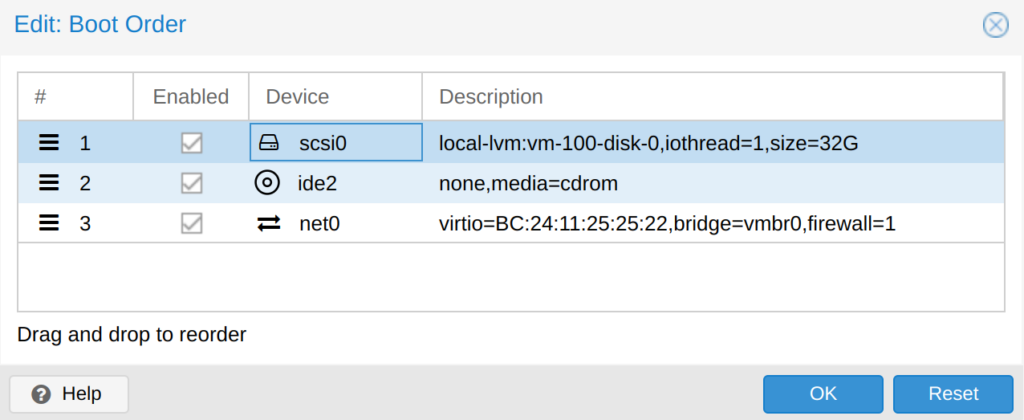
And then pull scsi0 element to be the first one in boot order:
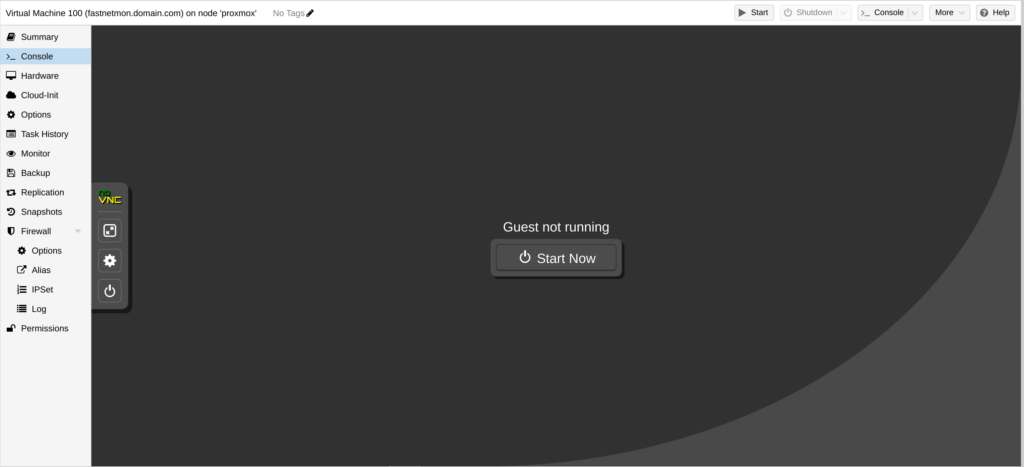
Finally, launch the VM by clicking Start:
Default login and password for VM are: fastnetmon/fastnetmon. We have enabled SSH by default. Be very careful and change default passwords right after logging in.
After finishing installation, please request a trial license using this form. When you receive an activation coupon, please activate it in the following way:
sudo ./installer -activate_coupon -activation_coupon [coupon_code]
To confirm successful activation, please restart FastNetMon and check the license status:
sudo fcli commit sudo fcli show license
As a first step, please reset the password for metrics access:
sudo ./installer -reset_clickhouse_password
To enable Grafana Web UI for metrics, you have to generate passwords for it:
sudo ./installer -reset_visual_passwords
It will print the login and password required for Grafana to access the metrics and traffic persistency database
Log in to FastNetMon’s UI: https://you.ip.address:81 using passwords from the previous step
Finally, you can start the initial configuration of FastNetMon using the standard guide.