To start using FastNetMon you need to finish initial configuration. In addition to our default command line configuration guide we offer new experimental capability to configure FastNetMon exclusively via web interface. Please note that web interface is a chargeable addon. Please reach our sales team via sales@fastnetmon.com to buy it. To install Panel please follow this guide.
As first step please enable traffic capture backend relevant for your case.
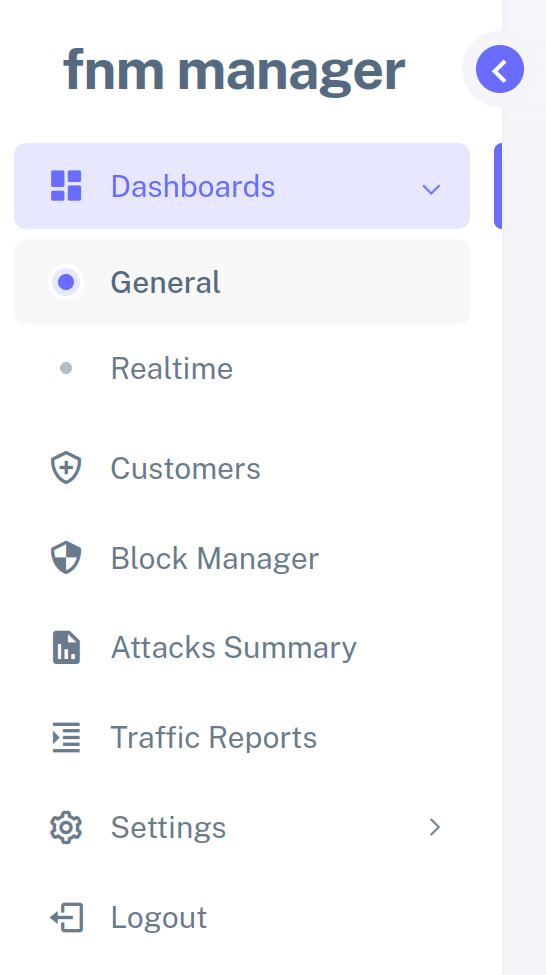
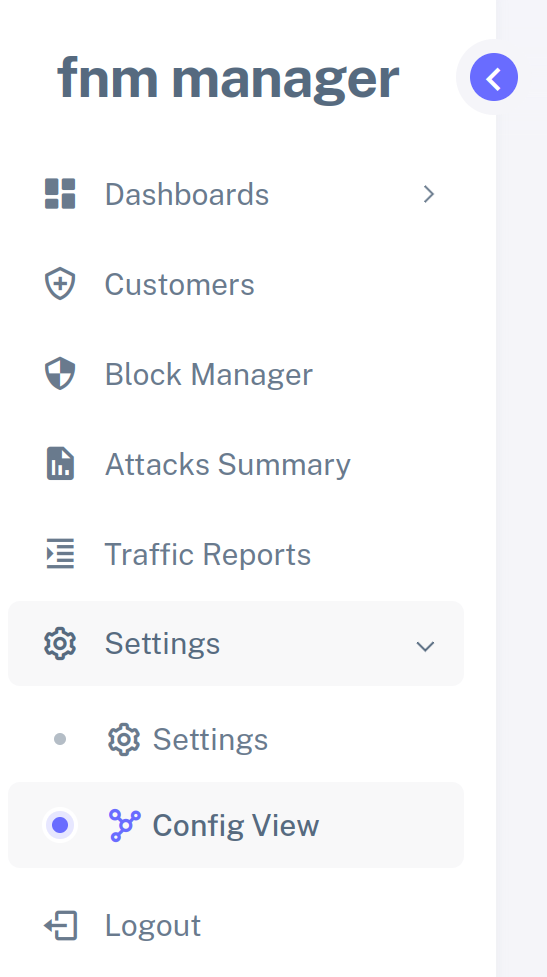
Go to Settings section:

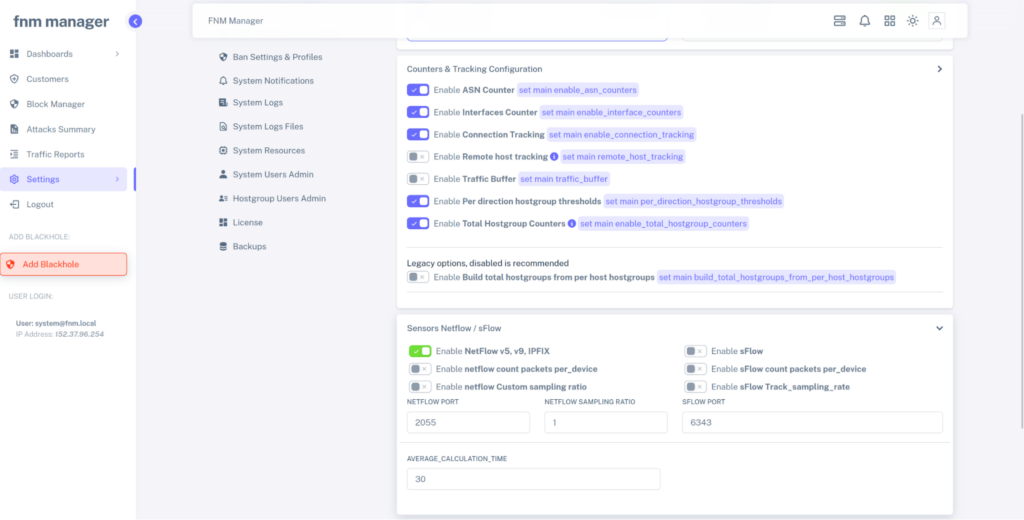
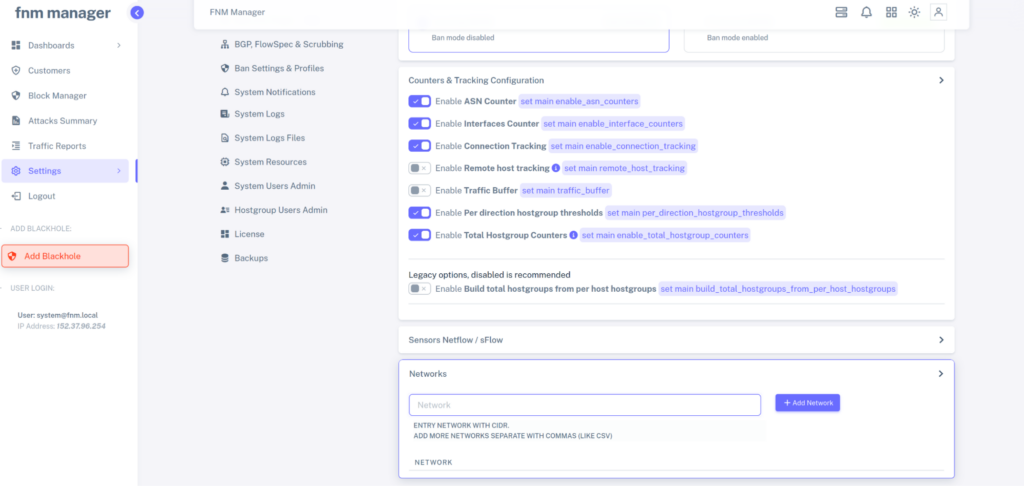
And enable Netflow or sFlow backend by clicking on the first two options. Then scroll up and click “Save Config”:

After that scroll up and click “Apply commit”:

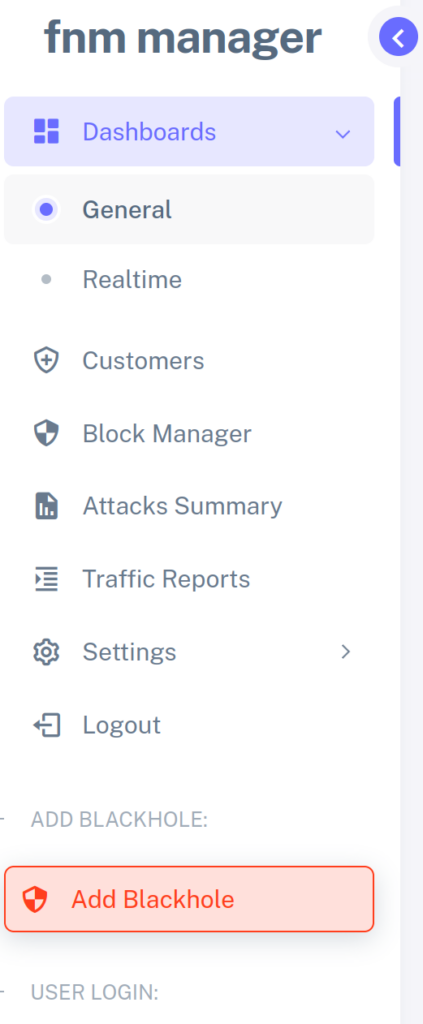
After that return to main menu by clicking on Dashboards -> General:
After that you need to enable network telemetry protocol on your network equipment:
- Netflow / IPFIX starting from section “We have detailed guides for following vendors”
- sFlow starting from section “We have our own guides for configuring sFlow”
- PSAMP recommended for Juniper MX and Cisco ASR 9000.
If some options are not exposed via web interface you can change them using fcli.
In some cases you may see that network equipment configuration guide mentions change of average_calculation_time and you can find it in Settings, Sensors section.
And then check for counters of Other traffic:
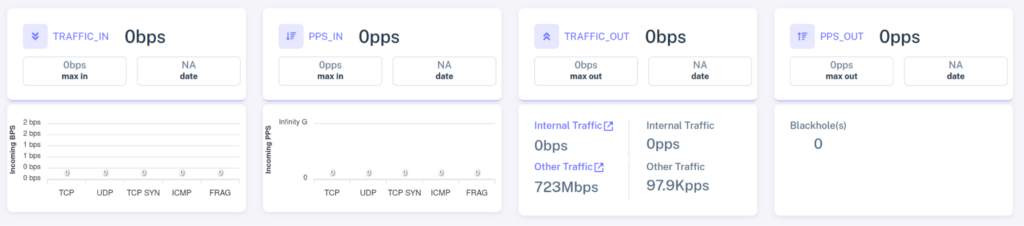
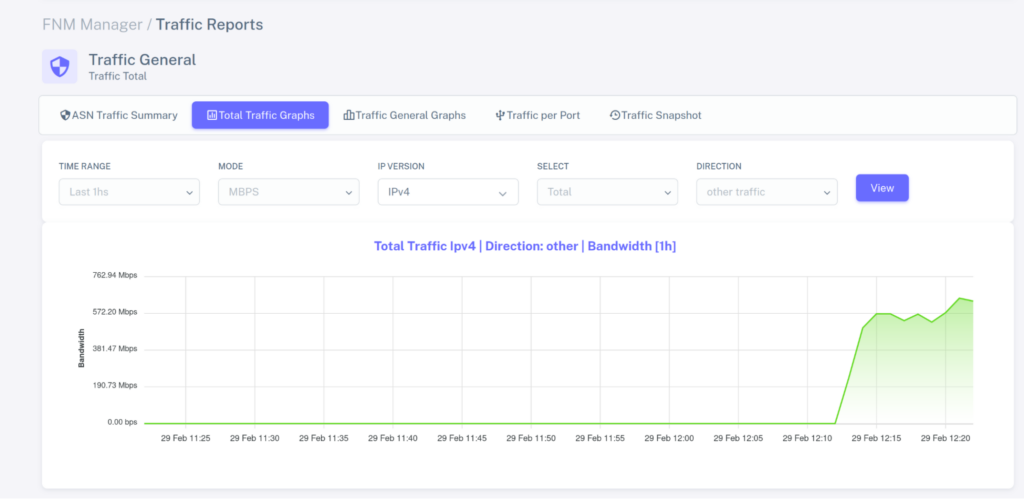
I should be non zero. You can click on box and arrow symbol next to it to see detailed graph of other traffic:
If you still do not see anything we can recommend checking configuration of device, firewall / ACL settings on your network side.
To get more visibility from FastNetMon if it’s not happy with telemetry you can open section Settings -> Config view:
After that click on “Counters” and carefully review if something wrong here:
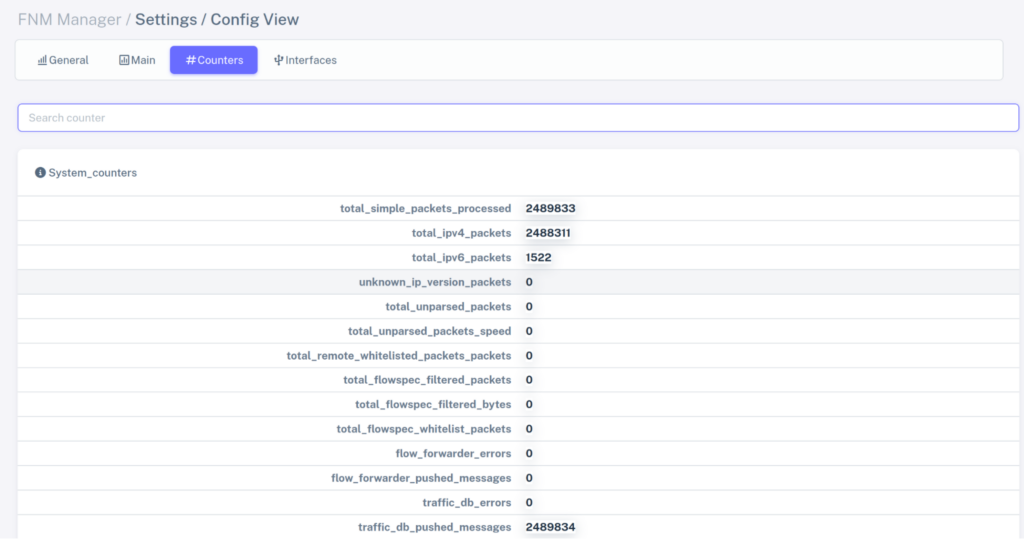
In case of need please reach our support.
Then you need to add all networks which belong to your network.
You can easily get them from https://bgp.tools/as/1234#prefixes by changing numbers by your ASN.
Go to Settings, scroll to section “Networks” and add all your networks:
After that scroll up and click “Apply commit”:
And confirm that Panel shows all your traffic correctly:
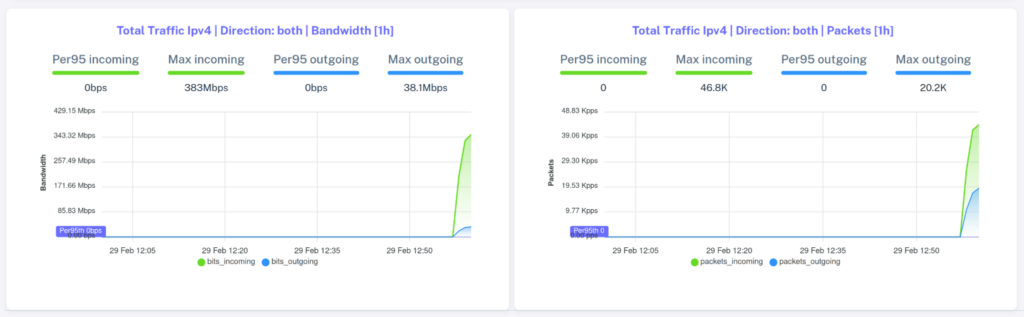
Traffic should match your expectations. If it does not, please carefully review configuration guide again and check average_calculation_time.
To configure attack detection you can use web interface but we have no guide yet and you can use command line guide for now.